Webflow is widely known for its visual design capabilities and a near-perfect no-code solution for building websites. However, many users are discovering its potential as a custom web app builder.
Admittedly, Webflow is still not the go-to choice for many professional developers for building complex web apps. Although, in the last 5 years of working in this industry, I have realized that most businesses aren't looking for complex apps in the first place.
And for me, I'd rather have the ability to quickly churn out fixes and new versions of my web app instead of learning and working on code, hours on end, to perfect version 1.0.
Webflow's app builder may not be as intuitive as its site builder but it's pretty easy once you get a hang of everything. Let's begin!
Step 1: Plan Your Webflow App
Whether you're building a membership site or an e-commerce platform, starting with a clear strategy is important.
Start by outlining the primary goal. Are you creating a user portal for clients to access personalized information? Or perhaps you need a platform for users to submit content and/or purchase products.
Identify core features.
This is why you need a primary goal: to identify your web app's secondary goals (core features).
- User Authentication: Consider whether you must restrict content, create user profiles, or enable account management.
- Data Storage: Determine how much data you need to store and display. For instance, if you're building an app with user-generated content, you may need a CMS collection or an external database like Airtable.
- Interactivity: Consider any interactive features, like forms, clickable elements, and animations. These can enhance user experience and make the app feel more engaging.
- Additional Features: List other essential features, like payment processing, integration with email marketing, or push notifications.
Map user journey.
A user journey map outlines how visitors navigate your app, from their entry point to completing a desired action. This desired outcome could be anything from signing up and purchasing to submitting content. Breaking down each step will help you design a seamless and logical flow.
Here's an example journey:
- Landing Page: Visitor learns about the app's features.
- Signup/Login Page: The visitor creates an account or logs in.
- Dashboard: User views their profile and options (e.g., accessing content, submitting information).
- Action Page: The user completes a primary action (e.g., submitting a form and purchasing a product).
- Confirmation/Thank-You Page: The user receives confirmation of their action.
Finally, choose the right tools and integrations.
- Wized: It is a tool for visually creating JavaScript, the same way Webflow is a tool for visually creating HTML and CSS. Using Wized, you can create any kind of logic within Webflow in conjunction with external databases like Airtable.
- Memberstack: If you need user authentication, Memberstack allows you to manage memberships, gated content, and profile creation, all within Webflow.
- Airtable: For data-heavy apps, Airtable acts as a flexible backend database, ideal for storing user-submitted data, inventory, or content.
- Zapier: Zapier automates tasks and workflows by connecting Webflow to other platforms, like CRMs or email marketing tools, saving you time on manual updates.
- Make (formerly Integromat): Like Zapier, Make is a powerful tool for automating workflows and syncing data across platforms, allowing you to build complex automation based on user actions in Webflow.
These tools enable you to expand Webflow's capabilities and create an app experience that is interactive, data-driven, and scalable.
Step 2: Set Up Your Webflow Project
With your plan in place, it's time to start building.

Create a new project in Webflow.
Log in to Webflow and create a new project. Start with a blank canvas if you want full control, or select a template if that fits your app's needs.
Here’s an important tip about naming and organizing your Web App files. Choose a name for your project that reflects the app's purpose, and use a logical file structure.
Group related pages together and create folders to keep everything organized as you add more elements.
Build a style guide and global elements.
Define Fonts and Colors: Start by choosing your fonts, primary colors, and secondary colors. Webflow lets you set global styles so these elements stay consistent across every page.
Global Components: Set up global components, like navigation bars, buttons, and footers. This ensures uniformity. And with Webflow's Components feature, you can update these elements sitewide in one go.
Spacing and Sizing: Establish proper spacing, sizing and indentation to keep elements aligned and organized. This will include setting padding, margins, and font sizes for headers and body text.
Setup your CMS collection.
If your app needs to store and display content you’ll need to create collections for dynamic data, define collection fields and connect them to the relevant pages. The process is exactly the same as making a website in Webflow.
Step 3: Design core pages and layouts.
Designing an app in Webflow means focusing on both functionality and user experience. Each page needs to serve a clear purpose, look visually engaging, and provide a seamless journey for users.
Also, everything should load as fast as possible, so no unnecessary elements or components should be added. And use .webp format for all images.
Using Webflow Interactions for animations, you can create page transitions, scroll animations and hover effects.

Optimize for Mobile, Tablet, and Desktop: With Webflow’s responsive design tools, you can ensure your app looks great on any device.
Switch to different device views (desktop, tablet, mobile landscape, and mobile portrait) and adjust the layout, font, and button sizes to ensure usability on each screen.
Consistent Interactions Across Devices: Some animations or hover effects might not work well on mobile, so be mindful of that when designing interactions. But, it’s no big deal. Webflow allows you to disable certain animations for specific breakpoints if necessary.
Step 4: Integrating User Authentication and Accounts
Since Webflow doesn't natively support authentication, third-party tools like Memberstack and Auth0 fill this gap seamlessly.
So, how can you set this up?

For starters, we’ll use Memberstack to set up memberships and gated content. Auth0 will help us with user authentication and access.
Finally, you’ll have to set up user profiles and restricted content within your webflow app.
- User Profiles: Once authentication is set up, create dedicated profile pages where users can manage their information. These pages can include fields like name, email, profile picture, and additional settings, depending on the nature of your app.
- Restricted Content: In Memberstack, you can designate pages as "Members Only" and control who has access based on membership level.
- Customizing the User Experience: Customize the user experience by tailoring the content based on login status. For example, if a user isn't logged in, display a "Sign Up" prompt on the homepage. Once logged in, show personalized greetings or relevant options in the dashboard.
Integrating user authentication secures your app and allows you to deliver a more personalized and valuable experience for each user, from profile access to exclusive content.
Step 5: Manage data using external tools.
Since Webflow's native CMS has its limitations, it’s best to integrate with external tools like Airtable, Zapier, and Make to extend your app's capabilities and streamline data management.
I personally prefer using Airtable for this task. It functions as an online database, useful for storing large amounts of data that Webflow's CMS may not be able to handle efficiently.
With Airtable, you can store records like user submissions, inventory, and content without sacrificing speed or accessibility.
Automating Workflows with Zapier and Make
- Automating Routine Tasks: Tools like Zapier and Make (formerly Integromat) allow you to automate repetitive workflows, freeing time and ensuring data consistency. For example, you can create automated workflows to:some text
- Add new Webflow form submissions to Airtable.
- Trigger an email notification whenever a user signs up.
- Update user information across multiple platforms when changes occur in Webflow.
- Creating Multi-Step Automation: Both Zapier and Make allow multi-step automations. For example, with Make, you can create an automation that creates a new Airtable record for each Webflow form submission, sends an email notification, and adds a new subscriber to your email marketing tool.
Syncing Data Between Webflow and Other Services
- Integrating External Databases or CRMs: If your app needs to sync with external databases or CRMs (like Salesforce or HubSpot), Zapier and Make can bridge the gap between Webflow and these services. Here's a simple step-by-step process:some text
- Set Up Your Integration Tool: Choose Zapier or Make as your integration tool.
- Create a Trigger in Webflow: A form submission can trigger the data sync.
- Set Up an Action: Connect Webflow's data to your chosen database or CRM, such as creating a new contact in HubSpot.
- Test and Activate: Test to ensure the sync works as expected. Once confirmed, activate the automation to synchronize your data in real-time.
Step 6: Add payment processing and e-commerce.
Webflow offers built-in e-commerce features for simple product sales, but integrating a third-party solution like Stripe is ideal to help enhance your app’s capabilities for more complex needs.
Stripe is one of the most popular payment processors, offering secure and flexible payment options for one-time purchases, subscriptions, and more. It’s ideal for apps with varying payment needs, such as tiered memberships, pay-per-use, or recurring subscriptions.
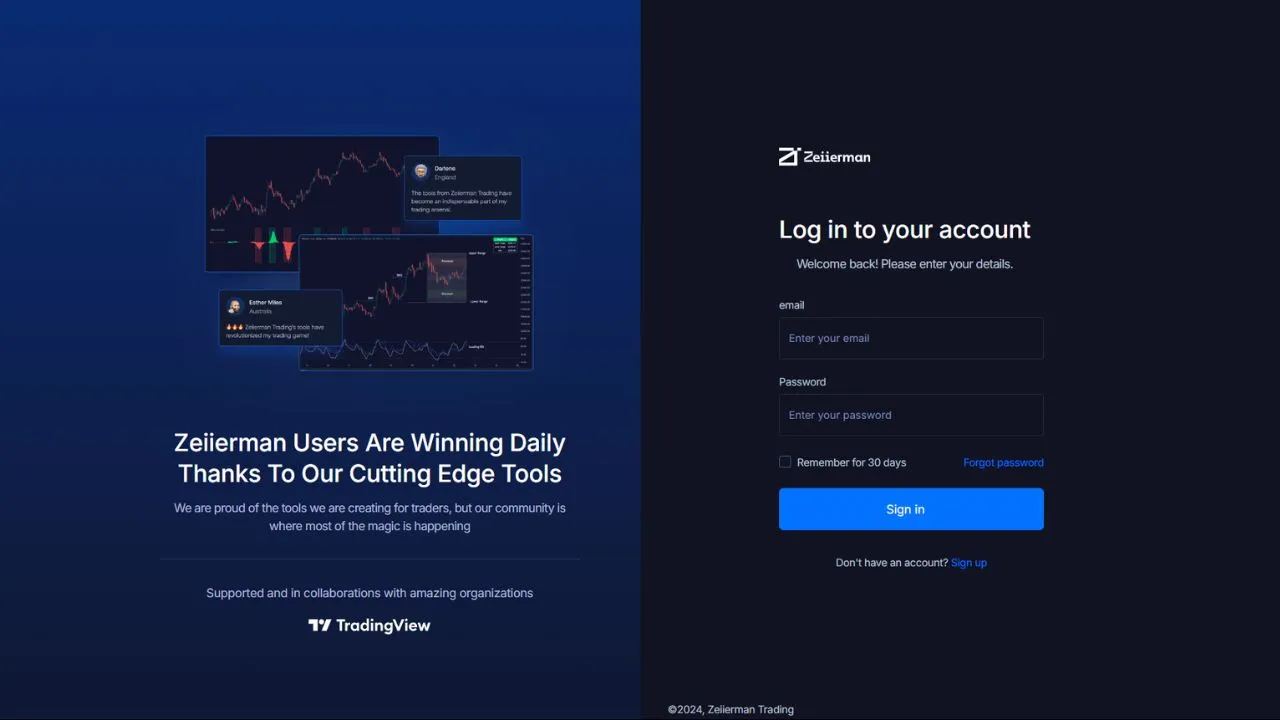
In fact, we have been using Stripe for one of our clients, Zeiierman Trading and their integration with Webflow is seamless. Here’s how to set it up:
- Create a Stripe account and set up your products or pricing plans directly within Stripe. Then, integrate Stripe with Webflow using custom code or tools like Memberstack if you’re handling membership sites.
- Next, you have to integrate within the layout. For example, Stripe’s “Buy Now” buttons can be embedded directly in Webflow for simple one-time payments.
- For recurring payments, use Stripe’s subscription tools, which can be integrated with Webflow via Memberstack or custom code.
- Set up webhooks in Stripe to receive real-time updates on payment events, such as successful transactions or subscription renewals.
Security and Compliance: Stripe handles PCI compliance and secure data transmission, so you can focus on building your app without worrying about security risks.
Step 7: Launching Your Custom Webflow App
After all the planning, designing, testing, and optimizing, you’re ready to launch your custom Webflow app. Here are the steps for final preparations:

Site Settings
- Even though SEO may not be a primary focus for your app, optimizing basic SEO settings can help with search visibility. Add unique meta titles and descriptions to key pages, set up Open Graph tags for social sharing, and ensure your robots.txt file is configured correctly.
- Optimize performance by compressing images, minifying custom code, and limiting animations or interactions that may slow down the app. Test your app’s speed using tools like Google PageSpeed Insights to identify last-minute improvements.
- Double-check that all forms are functional and correctly configured to capture data and trigger connected workflows (such as notifications or automations).
Deploying the App on a Custom Domain
- If you haven’t already, choose a custom domain that reflects your brand or app’s purpose. In Webflow, go to Project Settings > Hosting and add your custom domain. Follow the setup instructions to update your DNS settings with your domain registrar.
- Webflow provides SSL certificates by default to ensure security of your app and the user content. Although, I recommend using a third-party DNS like Cloudflare.


