
The default Calendly embed loads roughly 250KB of JavaScript that blocks the page until done, easily costing one to two seconds of LCP on a Webflow marketing site. The fix is a three-step swap: remove the auto-loading Calendly script tags, lazy-load the script on user intent (click or scroll proximity), and place the script late in the page so above-the-fold content paints first. You keep the booking surface, you recover the load time, you do not lose conversions.
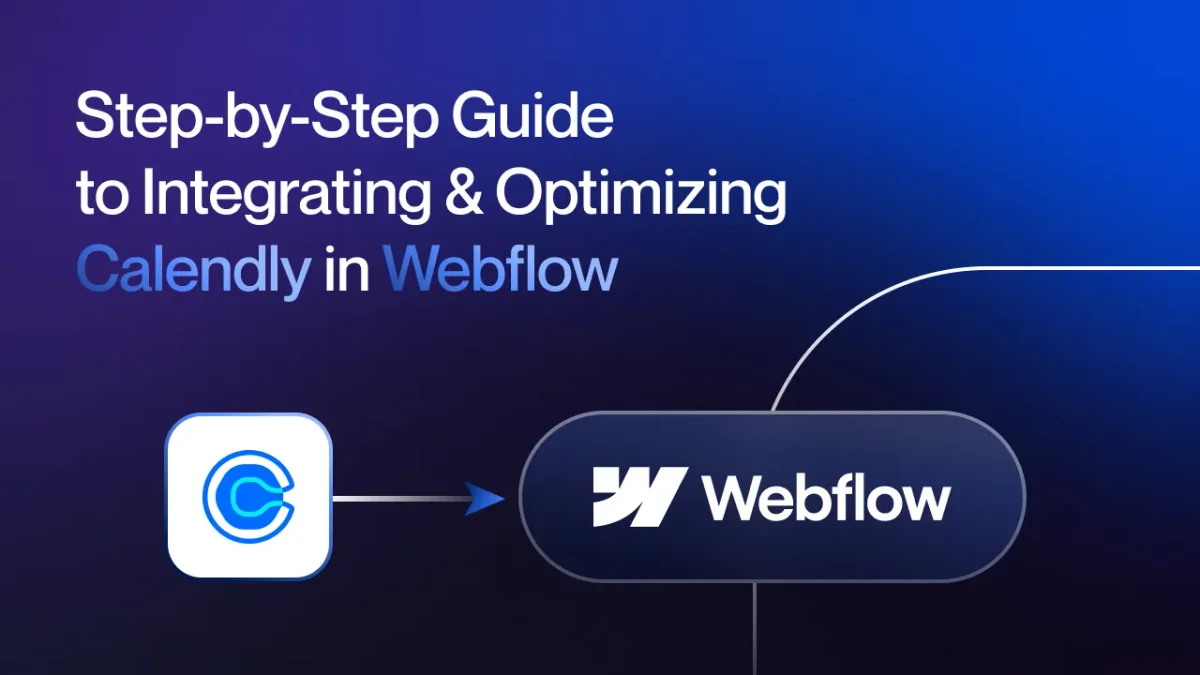
A Calendly embed on a Webflow site is one of the easiest conversion levers for a B2B SaaS marketing site, and one of the easiest to ship slow. The default embed loads ~250KB of JS that blocks the page until it's done. This guide shows how to drop it to lazy-load on intent, recovering 1-2 seconds of LCP without losing the booking surface.
As a website builder and owner of LoudFace, I've experienced the problem and subsequent solution firsthand.
Remember the days when scheduling a meeting was a back-and-forth hassle? Emails ping-ponging, trying to nail down a time that works for everyone. It was no different at LoudFace.
Cut to now; our bookings page does all the heavy lifting. Clients pick a time that suits them and is on the calendar. No fuss, no hassle.
The only con with the default Calendly integration is that it messes up your site's performance. No worries, I'll help you optimize that too. Let's get started.
- Setting Up Calendly: Create a Calendly account and sync it with your calendar (e.g., Google Calendar) for availability synchronization.
- Embedding Calendly: Choose between different embedding options in Calendly, like Inline Embed, Popup Widget, or Popup Text. Copy the respective code provided by Calendly.
- Optimization: Implement asynchronous loading and lazy loading.
What is Calendly embed load time on Webflow?
Calendly embed load time is the time between page request and the moment the booking widget on a Webflow page is fully painted and interactive. On a default Calendly install, the embed script weighs roughly 250KB compressed, blocks the rendering thread while it parses, and runs synchronously on page load whether the visitor ever scrolls to the widget or not. The metric that matters for SEO and conversion is the cost the script imposes on the page's Largest Contentful Paint and Total Blocking Time, not the time the widget itself takes to render after a click.
This is a different problem from generic third-party script latency. Most third-party widgets (analytics, chat, attribution) ship inside the buyer's tolerance window because they load below the fold or fire on intent. Calendly defaults break that pattern because the standard embed code Calendly hands buyers includes the script tag inline at the place the widget sits, which on most Webflow marketing pages is above the fold on the bookings or contact page, and high on the page on landing pages with a hero CTA. The script ends up in the critical path even though the booking interaction itself is, statistically, a click most visitors never make.
Measurement is straightforward and worth running before any optimization work:
- Lighthouse mobile run on the page with the embed. Note LCP, TBT, and the Calendly script's transfer size in the Network tab. Mobile is the test that matters because the Webflow client base lives on mobile-LCP-sensitive Core Web Vitals.
- Lighthouse mobile run on the same page with the Calendly script commented out. The delta between the two runs is the budget the embed is actually costing. On the loudface.co bookings page that delta typically lands between 1 and 2 seconds of LCP and 200 to 600 milliseconds of TBT, in our internal tests.
- Google Search Console Core Web Vitals report for the affected URL. Field data lags lab data by a rolling 28-day window. Optimizations that fix Lighthouse instantly take weeks to clear in Search Console.
How to pick the right optimization technique
Four optimization paths exist for a Calendly embed on Webflow, and the right one depends on which load-time bottleneck the embed is actually causing on the specific page. Run Lighthouse first, find the bottleneck (LCP regression from script blocking, TBT regression from script parsing, layout shift from late-mounted iframe, or all three), then pick. Mixing techniques is normal. Picking blindly is what produces "we tried lazy loading and it did nothing" outcomes.
| Technique | When to use | Effort | LCP impact |
|---|---|---|---|
Async script load (add async or defer to the Calendly script tag) | Bottleneck is script parse time blocking the main thread, not network transfer. Page has the embed above the fold and you cannot reasonably move it. Cheapest win available. | 5 minutes. One attribute change inside the Webflow Embed element. | Modest. Typically 100 to 300 millisecond LCP improvement in our internal tests. Recovers main-thread time but the script still loads on page request. |
| Lazy-load script on user intent (click-to-load pattern) | Bottleneck is the 250KB transfer cost itself and the script is firing on pages where most visitors never click the booking button. Best on marketing landing pages with a hero CTA that opens Calendly. | 30 to 90 minutes. Custom code block in Webflow's site-wide or per-page Custom Code, plus swapping the default embed for a placeholder button that triggers the script on click. | Largest. Typically 1 to 2 seconds of LCP recovered on affected pages, in our internal tests. The script does not load until the visitor commits to booking. |
| Lazy-load on scroll proximity (Intersection Observer) | Bottleneck is initial-load blocking and the booking surface needs to be visible (not behind a button) when the visitor reaches it. Common on a dedicated bookings page where the widget is the page's primary content. | 60 to 120 minutes. Intersection Observer in Custom Code, fires the Calendly script when the embed container is within roughly 200 pixels of the viewport. | Strong. Typically 500 milliseconds to 1.5 seconds of LCP recovered, depending on where the embed sits on the page. Slightly less than click-to-load because the script eventually fires on most sessions, but visitors do not see a placeholder. |
| Defer script to end of page (move the embed code to a Footer Code injection or near the closing body tag) | Bottleneck is the script's position in the critical rendering path, not its size. Useful as a baseline alongside any of the above. Works particularly well when paired with async load. | 15 to 30 minutes. Relocate the embed code from the Webflow Embed element to the Footer Code in Page Settings, leave a placeholder div where the widget should mount. | Modest on its own. Typically 200 to 500 milliseconds of LCP improvement. Stacks with async load and lazy load techniques rather than replacing them. |
| Replace embed with a hosted Calendly link (button that opens calendly.com in a new tab) | The bookings flow is a small share of conversions, performance budget is hard-capped (Core Web Vitals failing across the property), or compliance review has flagged third-party script loading. Honest fallback when no optimization is fast enough. | 5 minutes. Replace the embed with a Webflow Button linking to the Calendly URL. | Maximum. The script does not load on the Webflow page at all. Trade-off is the off-site jump, which costs roughly 5 to 15 percent of bookings in funnel analytics we have seen across clients. |
The pattern most B2B SaaS Webflow sites should default to is lazy-load on user intent for landing pages with a hero CTA, and lazy-load on scroll proximity for a dedicated bookings page. Async script load is a free add-on either way. Replacing the embed with a hosted link is the honest fallback when the Core Web Vitals budget is already failing and the booking flow can absorb the off-site jump. Pick on the bottleneck, not on the technique that sounds most clever.
How long this fix takes to ship
Calendly embed optimization is one of the rare Webflow performance wins that fits inside an afternoon. The default embed loads about 250KB of JavaScript on every page that holds the button, blocking LCP until it resolves. Swapping that for a lazy-loaded, intent-triggered embed is mechanical work with a clear before-and-after signal.
| Timeframe | What's possible | When it applies | Real example |
|---|---|---|---|
| Same day | Default embed replaced with a lazy-loaded version, button click triggers the Calendly script, LCP recovers 1 to 2 seconds on affected pages | You have one or two pages with the embed, no custom Calendly styling, no analytics dependencies tied to the embed firing on load | Internal LoudFace fix on the loudface.co bookings page |
| 1 to 3 days | Site-wide rollout across every page that holds the embed, Lighthouse rerun, GSC Core Web Vitals report queued for re-verification | The embed shows up across 5 to 20 marketing pages with mild styling differences | Internal LoudFace pattern across multi-page B2B SaaS marketing sites |
| 2 to 4 weeks | Core Web Vitals field data confirms the LCP improvement in Search Console, mobile pass rate moves into the green band | Search Console field metrics are downstream of crawl + user data, so the lab fix lands instantly but the field report lags | Standard GSC Core Web Vitals refresh cycle on a mid-traffic B2B SaaS site |
The ship is fast. The validation is slower. Lab numbers (Lighthouse, PageSpeed Insights) update on the next test run. Field numbers (Core Web Vitals in Search Console) update on a rolling 28-day window. If a client reports that mobile is still showing red 48 hours after deploy, that is almost always a field-versus-lab lag, not a broken fix. Re-run Lighthouse, confirm the LCP, and wait for the field report to catch up.
1. How Do I Add Calendly Embed to Webflow?
1. Create a Calendly Account
First, go to Calendly.com and sign up for a free account. Add basic information to set up your account quickly.
You'll want to connect your account to a calendar (like Google or Office 365) so Calendly can access your availability. Make sure to configure your scheduling preferences, like appointment times, buffers between meetings, and notifications.
2. Generate Calendly Link
In Calendly, navigate to the "Integrate" section to get your unique Calendly link, which visitors will use to schedule with you. Customize the questions you want to ask those scheduling, like their name, email, or reason for the meeting.
3. Embed Calendly Code in Webflow
Head to Webflow and navigate to the page where you want the scheduling link. Add an Embed element and paste the Calendly embed code. This code creates a "Schedule a meeting" button that leads to your Calendly. After pasting, publish your changes.
If you're unsure which embedding option to use, you can scroll down to Advance Embedding Options.
4. Customize the Calendly Experience
Calendly offers full customization to match your branding. You can adjust questions asked, meeting types, display themes, and emails to create a seamless scheduling experience.
Remember, you can change the text styling of the parent of your HTML embed (like any div block, section, or container) to affect the text styling of the HTML embed. This allows for greater design flexibility and consistent visual style on your site.
2. How to Optimize Calendly Embed Load Time on Webflow
Is your Calendly widget taking forever to load on your Webflow website? You're not alone. Slow load times can frustrate users and potentially cost you valuable conversions.
There are three ways to optimize calendly embed load time and performance issues on Webflow:
Remove the Calendly script tags so they load asynchronously when required instead of loading automatically. Additionally, we implement lazy loading for further improvement. Finally, we put the Calendly script towards the end of the page so the important elements can load first.
Step 1: Prerequisites: Gather What You Need to Get Started
Before diving into the optimization process, make sure you have the following:
- A basic understanding of HTML, JavaScript, and Webflow.
- Access to the Webflow project where the Calendly widget is embedded.
- An active Calendly account and event to embed.
And here are the tools that you'll need:
- Webflow Editor
- Code Editor (optional)
- Browser Developer Tools
Step 2: Locate the Calendly Embed Code
First, find the existing Calendly embed code in your Webflow project. It should look something like this:
Step 3: Remove the Script Tag
Next, remove the <script> tag from the embed code. This will prevent the Calendly script from loading immediately, which is good for our optimization process.
Tip: Put the Calendly script towards the end of your page. That way, it'll load last, so the user can still interact with other elements while your Calendly widget loads up. Don't worry, it won't affect the position of your widget.
Step 4: Implement Lazy Loading
Now, let's add a lazy loading script. This JavaScript code will load the Calendly script only when the user is about to view the widget. Add the following code to your Webflow project's custom code section:
Troubleshooting Tips
Widget Not Loading: Ensure the lazy loading JavaScript code is correctly placed in the Webflow custom code section.
Script Errors: Check the browser console for errors and resolve them accordingly.
Step 5: Test the Changes
After implementing the changes, it's time to test:
- Save and publish your Webflow site.
- Open the live site and inspect network activity using browser developer tools.
- Scroll down to where the Calendly widget should appear.
- Confirm that the Calendly script only loads when you're about to view the widget.
Step 6: Document Your Changes
Last but not least, document the changes you've made. This will help you or anyone else who works on the project in the future.
3. Advance Embedding Options in Calendly
I reserved this for the list even though embedding options are a part of step 3. With Calendly, you basically have four embedding options. Let's go through each of them so you can make the best decision.
Here's a quick comparison:
| Feature | Direct Link | Inline Embed | Popup Widget | Popup Text |
|---|---|---|---|---|
| Integration | Simple hyperlink to Calendly page | Embedded directly into the page content | Appears as a popup on the page | Triggered as a popup through a text link |
| Pros | Simple setup, no impact on the user, page layout, or design | Seamless look and feel, direct access to scheduling | Space-efficient Engaging, immediate visibility | Minimalist and unobtrusive, customizable CTA |
| Cons | Redirects users away from your site | Takes up real estate on the page | Can be seen as intrusive | Requires user interaction for the popup |
| Ideal Use Case | Anywhere a simple, no-frills scheduling link is needed | Service pages for direct booking | Landing pages or high-traffic areas | Content pages where scheduling is secondary |
| Customization | None | Moderate (some level of styling to match site design) | Moderate (customizable but within the popup format constraints) | High (customizable text and CTA) |
Direct Link
This is simply using the unique URL provided by Calendly and linking it directly from your website. This can be done by creating a standard hyperlink on your Webflow site that points to your Calendly scheduling page.
Pro Advice: Direct Link is an ideal choice when you want the simplest form of integration. It's perfect for visitors just needing a quick way to access your Calendly without embedding anything into your Webflow site.
Inline Embed
Inline Embed is ideal for service pages where you want clients to book appointments directly without navigating away from the page. It offers a seamless and cohesive user experience with easy access to prospective clients.
On the downside, it has limited optimization because the styling isn't as flexible as a full page or popup. It also takes up a good amount of real estate on the page, so it can be difficult to naturally integrate inline embedding in the design language.
How to Integrate:
- Select your event type and choose "Inline Embed."
- Click "Continue" and then "Copy Code."
- In Webflow, add an Embed element using CMD/CTRL+E or dragging it from the Add panel.
- Paste the copied code into the Embed element and save your changes.
Popup Widget
Popup widgets are suitable for landing pages or attracting immediate attention when booking an appointment. It saves real estate on the page because it doesn't take up permanent space. And it quickly grabs the attention of your visitor.
On the flip side, it interrupts your visitor, which can be disruptive if not placed and timed properly. Additionally, mobile responsiveness can sometimes be iffy due to rendering issues.
How to Integrate:
- In Calendly, choose "Popup Widget" for your event type.
- Continue and copy the code.
- In Webflow, go to your page settings and add the code in the "Before </body> tag" section.
- Save and publish your changes.
Popup Text
Popup text is suitable for blog posts or informational pages where you want to offer scheduling options without overwhelming the content.
It is rather minimalistic and less "annoying" compared to popup widgets. Although it might not grab user's attention as effectively due to lower visibility.
How to Integrate:
- Select "Popup Text" option in Calendly.
- Click "Copy Code" after customizing your text.
- In Webflow, add an Embed element where you want the Calendly link.
- Paste the code into the Embed element and save your changes.
4. Calendly Alternatives for Webflow (vs. Google Calendar)
If you're unfamiliar with Calendly and are confused about the choice, let's give you a quick overview.
Calendly is an appointment-scheduling software that streamlines the process of setting up meetings. Its key features include automated event scheduling, customizable event types, and seamless integration with personal calendars.
Calendly is efficient and time-saving thanks to the automation available. It provides a much more enhanced visitor experience by allowing users to book directly from your Webflow site. And it just looks better.
On the other hand, Google Calendar is a widely used calendar service that allows for event tracking and scheduling. Its integration into Webflow would typically involve embedding or linking to a Google Calendar.
Google's Calendar is by no means a slouch, but it's not suited for a business. Here's a quick comparison:
| Feature | Calendly | Google Calendar |
|---|---|---|
| Integration with Webflow | Embedding scheduling interface directly into Webflow sites | Embedding or linking to the calendar on Webflow sites |
| Customization | High customization of booking experience and appearance | Limited, primarily functional |
| Automated Scheduling | Advanced options with buffer times and custom event types | Basic scheduling features, manual event creation |
| Reminders and Notifications | Automated email and SMS reminders | Email reminders, pop-up notifications within the Google ecosystem |
| User Interface | User-friendly, focused on appointment scheduling | Broader focus on calendar management |
| Cost | Free tier available | Completely free |
| Best Suited For | Businesses and professionals needing a robust scheduling tool | Individuals and teams needing a general calendar management tool |
Working on a B2B SaaS or fintech growth program? We run a free 30-minute AI citation audit. We open the dashboard, walk through the prompt graph for your category, and tell you what's working (or who else can help). See our public pricing first if that helps.
Frequently Asked Questions
How do you add a Calendly embed to Webflow?
Start by creating a Calendly account, then use Webflow's embed element to paste your Calendly scheduling widget code into your desired page location.
How do you optimize Calendly embed load time on Webflow?
Slow Calendly load times frustrate users and cost conversions. Optimize by lazy-loading the embed, deferring the script, or using a click-to-load trigger instead.
What are the Calendly embedding options for Webflow?
Calendly offers four embedding options: inline embed, popup widget, popup text, and a custom button trigger. Each suits different page layouts and user experiences.
What are some Calendly alternatives for Webflow?
Google Calendar is a common alternative, though it offers fewer scheduling features. Other options include Cal.com and TidyCal depending on your booking needs.

