Every detail in web design and marketing can impact how users interact with your site.
A/B testing is one of the best ways to optimize these details, allowing you to test two or more versions of a webpage and see which one performs better based on real data.
For Webflow users, A/B testing is particularly important. Since Webflow is a no-code platform, it attracts site owners who may not be heavily technical. Having the right A/B testing tools is essential for making data-driven decisions without complex coding.
I already had a few blogs discussing the nitty-gritty of A/B testing. This time, I decided to compare all the tools I have used for LoudFace clients and give you the best one.
Note: In my previous version of this guide, we didn’t have Webflow Optimize - Webflow's own A/B testing tool that was launched at the 2024 Conference.
My Criteria for Evaluating A/B Testing Tools
Selecting the right A/B testing tool for Webflow is crucial for your success. You have to be somewhat sure from the get-go as window shopping isn't exactly possible.
It takes time before split testing yields tangible results, and you wouldn't want to do it again with another tool. Here are the primary criteria I consider when comparing A/B testing tools:
1. Ease of Integration with Webflow
Since Webflow doesn't natively support complex A/B testing (Optimize is an exception of course), a critical factor is how easily the tool integrates.
Look for tools that offer seamless setup, such as direct plugins or code snippets that can be added to Webflow's custom code sections. And that is why I am a huge proponent of Optibase.
2. User-Friendliness and Interface
A/B testing should be accessible, especially for beginners. As such, the interface should be intuitive and easy to navigate.
My ideal tools have visual editors or dashboards that simplify setting up, running, and analyzing tests without requiring extensive technical knowledge.
3. Types of Tests Supported
Consider the range of test types the tool supports. Some tools only handle basic A/B tests (comparing one variable), while others offer multivariate testing (testing multiple variables simultaneously) and split URL testing (testing completely different URLs).
4. Data Tracking and Reporting
An effective A/B testing tool should offer robust data tracking and reporting capabilities.
I prefer having the ability to see the results in real time. Visual dashboards, heatmaps, and funnel tracking can further enhance the analysis.
5. Audience Segmentation and Personalization
Look for tools that allow segmentation based on factors like device type, location, or behavior to tailor tests for different audience segments.
Some tools also offer personalization features to dynamically adjust content for specific visitor groups.
6. Pricing and Scalability
Pricing is a crucial factor, especially for smaller businesses or individual creators. Many tools offer free or entry-level plans for basic testing.
7. Future Proofing and Sustainability
It’s important to invest your time and money into a product that’s investing in itself. Webflow Optimize trumps all other tools in this category. Being a native tool, it’ll always have the latest support and features available at Webflow.
In comparison, Optibase hasn’t had any updates since July of this year as of November 2024.
Top A/B Testing Tools for Webflow in 2025
1. Webflow Optimize
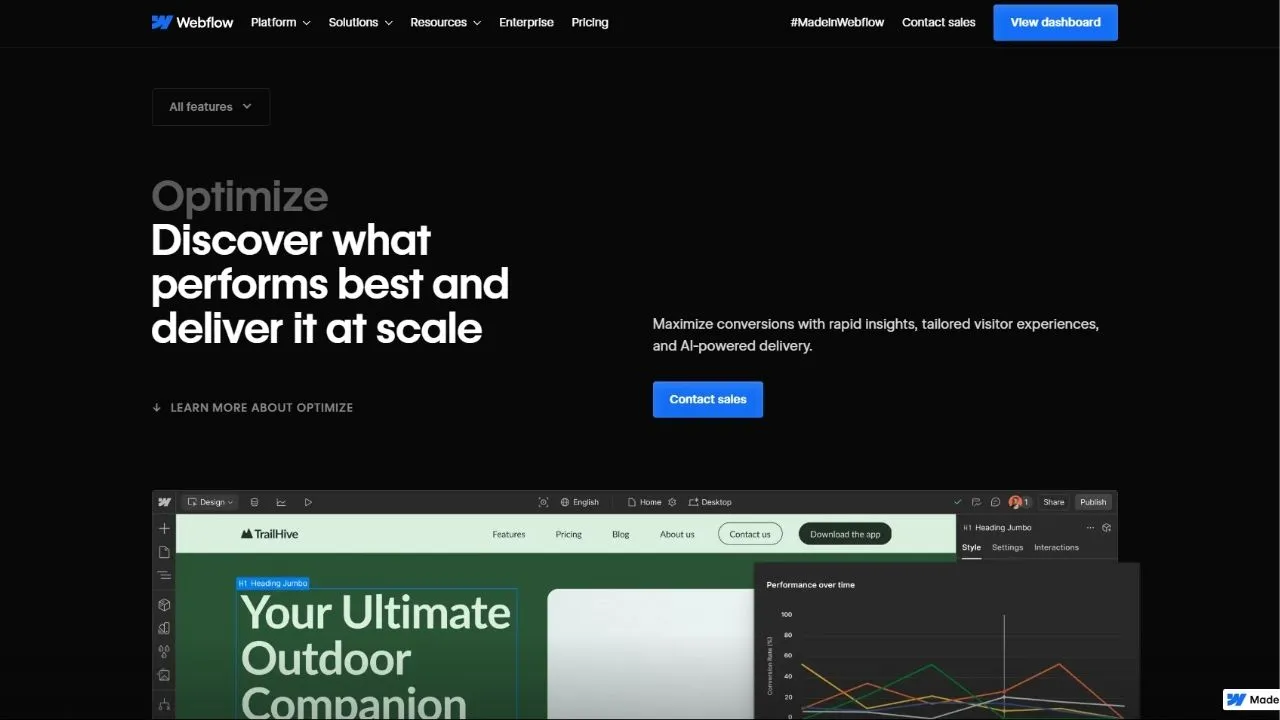
Webflow’s native A/B testing tool includes A/B testing, audience segmentation, and AI-powered personalization, allowing for real-time dynamic changes.
- Pros: Integrated directly within Webflow, it provides easy setup and seamless functionality without additional code.
- Cons: Premium pricing and limiting accessibility for smaller teams.
- Pricing: $299/mo or more (usage-based pricing)
- Integration: Native Webflow integration; no external scripts or code needed.
- Ideal For: Webflow users want a seamless, easy-to-use A/B testing tool without external integrations.
2. OptiBase

Built for Webflow, OptiBase supports A/B and split testing, real-time segmentation, and no-code setup. It’s especially beginner-friendly with intuitive reporting features.
- Pros: Tailored for Webflow users, with seamless integration and minimal setup. No flickering ensures a smooth user experience.
- Cons: Requires a paid subscription, and advanced features may have a learning curve. It also has an inconsistent changelog.
- Pricing: Paid plans start at $19/month, with scalable options for growing needs.
- Integration: Directly integrated within Webflow; no technical setup needed.
- Ideal For: Webflow users looking for a comprehensive A/B testing tool with easy setup and focused on the platform.
3. VWO (Visual Website Optimizer)
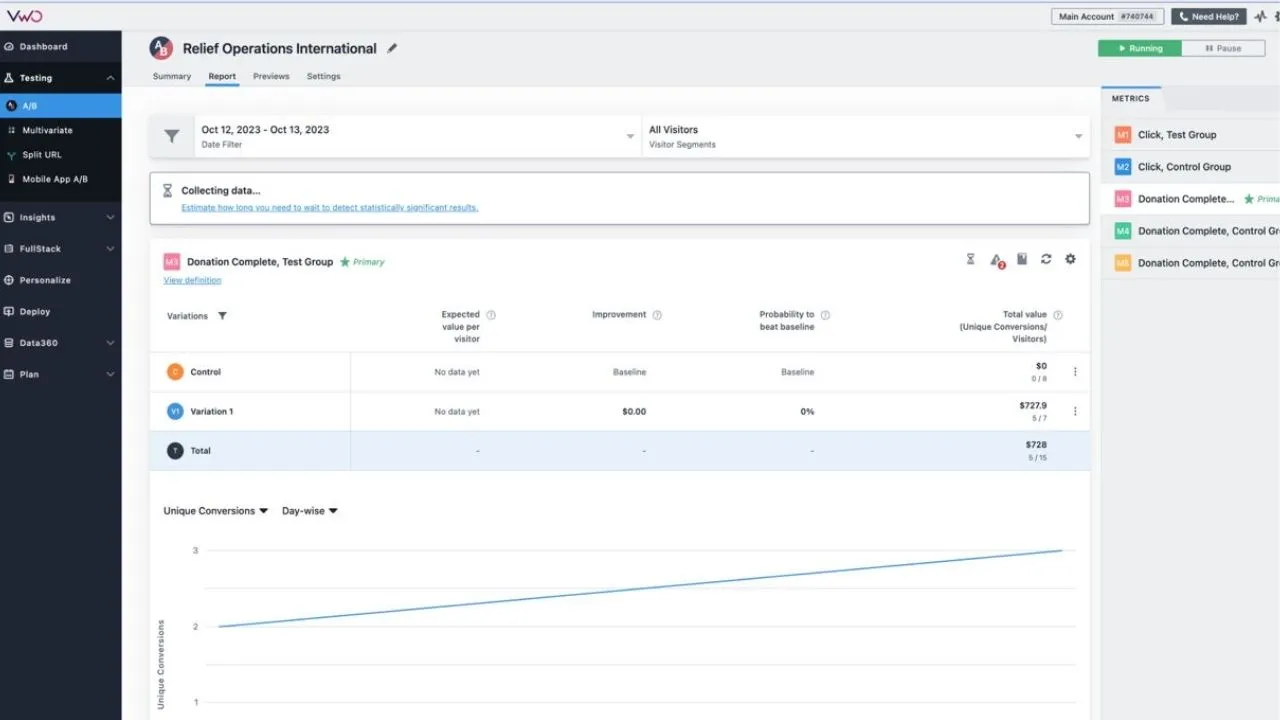
VWO offers extensive A/B, multivariate testing, heatmaps, funnel analysis, and user segmentation.
- Pros: Rich analytics and visualization tools like heatmaps are ideal for detailed performance insights.
- Cons: Higher cost, with complex features that may require technical knowledge.
- Pricing: Starts at $199/month.
- Integration: JavaScript-based; requires embedding code within Webflow’s custom code section.
- Ideal For: Agencies and businesses with larger testing needs, especially those requiring multivariate testing and behavioral analysis.
4. Google Analytics 4 (with Google Sheets)
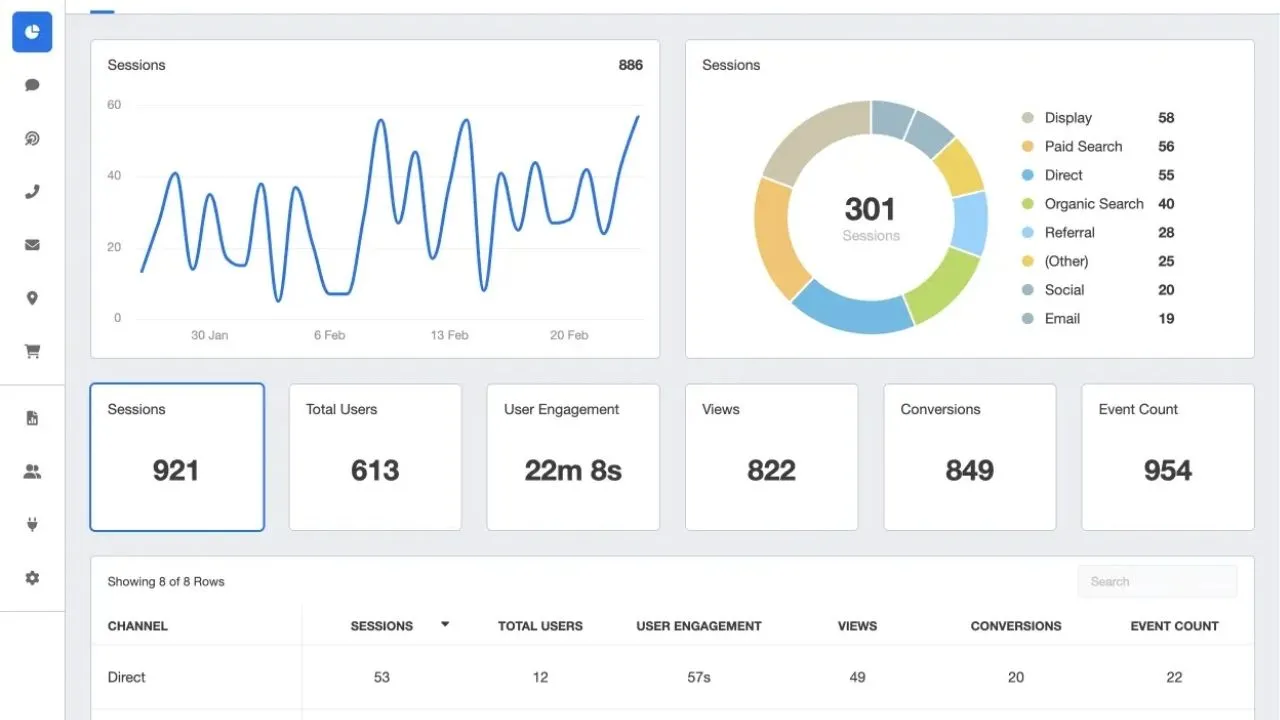
While not a standalone A/B testing tool, GA4 integrated with Google Sheets (+ Confidence Intervals) provides basic A/B testing, goal tracking, and audience targeting.
- Pros: Free, with comprehensive analytics when used with Google Analytics.
- Cons: Setting up your own statistics requires a fundamental knowledge of the mathematics behind it..
- Pricing: Free.
- Integration: Easy integration via code snippet in Webflow.
- Ideal For: Smaller businesses or individuals seeking a budget-friendly option for testing.
If you’re interested, here’s my guide on setting up your own A/B testing program using Google Sheets, GA4, Delta Reference and Confidence Intervals.
5. AB Tasty
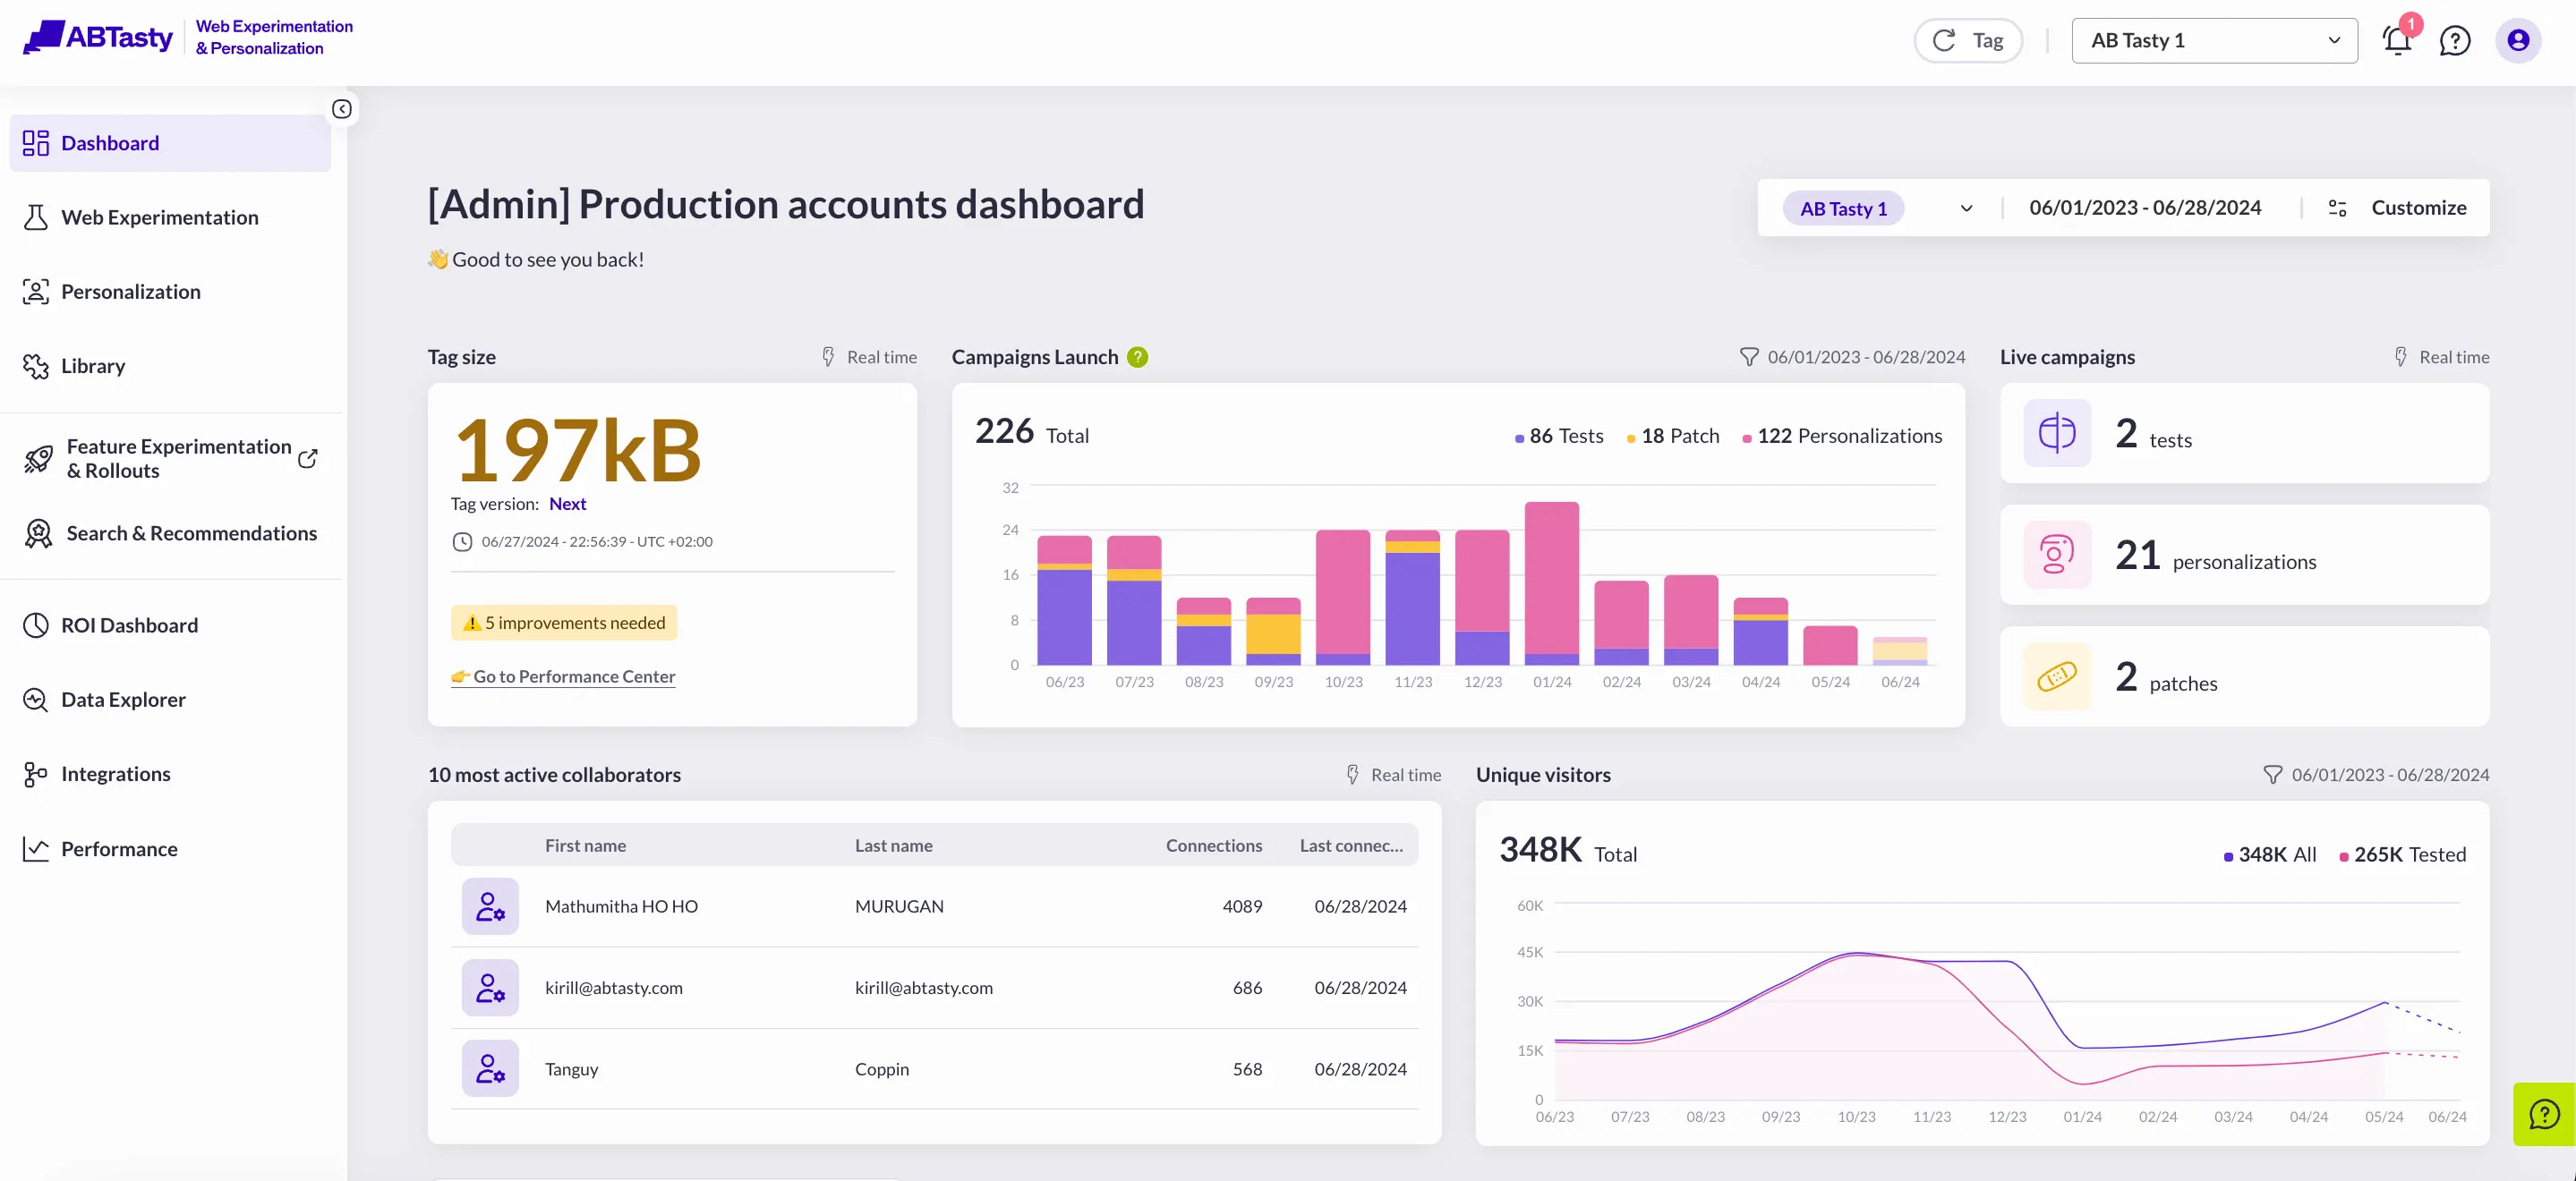
AB Tasty supports A/B and multivariate testing, personalization, and visitor behavior tracking.
- Pros: Strong customization options, especially useful for e-commerce.
- Cons: Requires code integration and is primarily priced for midsize to large businesses.
- Pricing: Custom pricing; contact sales for a quote.
- Integration: Code snippet; requires embedding in Webflow.
- Ideal For: Businesses needing a flexible tool with advanced personalization options.
6. Crazy Egg
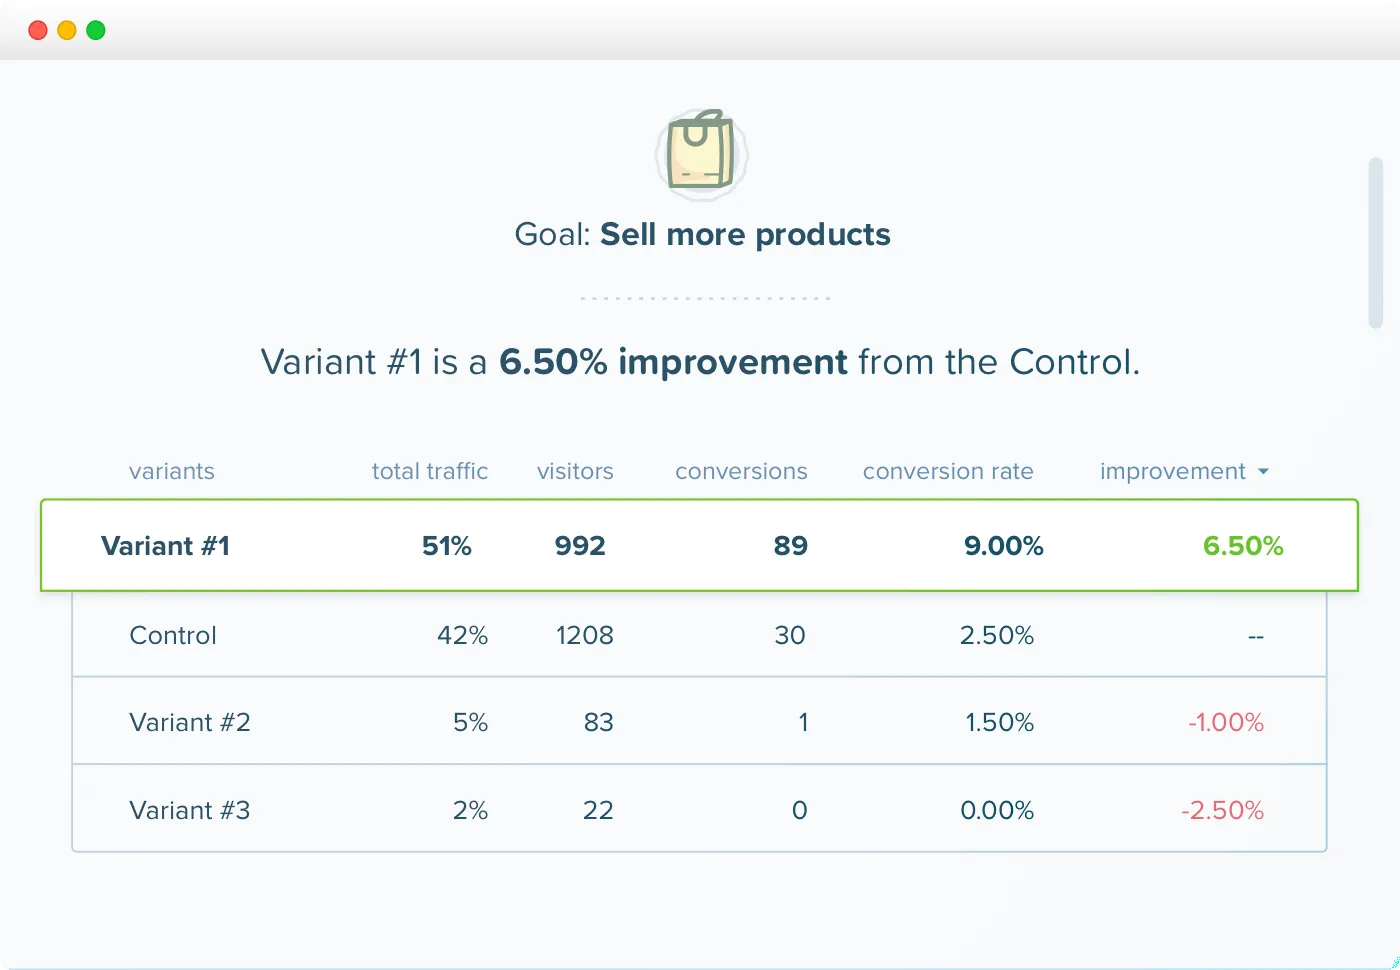
Crazy Egg takes the A/B testing features one step further and provides advanced-level visual analytics including heatmaps and scroll maps.
- Pros: Affordable, visual data presentation makes it easy for beginners to analyze results.
- Cons: Limited to basic A/B testing, without advanced features like multivariate testing.
- Pricing: Starts at $24/month.
- Integration: Code snippet integration with Webflow.
- Ideal For: Smaller sites or teams interested in visual feedback and basic testing.
7. Adobe Target

Adobe Target provides A/B, multivariate testing, and AI-driven personalization, built for enterprise-level insights and in-depth segmentation.
- Pros: Robust and highly customizable, with detailed reporting capabilities.
- Cons: Expensive and complex for beginners; requires extensive setup.
- Pricing: Custom pricing; enterprise-focused.
- Integration: Advanced setup required; typically involves developer assistance.
- Ideal For: Large enterprises with complex testing and personalization needs.
8. HubSpot A/B Testing Kit

HubSpot’s A/B testing kit is primarily used for A/B testing on marketing assets, such as landing pages and CTAs.
- Pros: Beginner-friendly, integrates with HubSpot’s CRM, and provides marketing-focused insights.
- Cons: Limited direct integration with Webflow; best for marketing-specific A/B tests.
- Pricing: Included in HubSpot subscriptions.
- Integration: Indirect; HubSpot data can inform Webflow-based marketing efforts.
- Ideal For: Businesses using HubSpot for marketing and interested in testing content like CTAs and emails.
9. Apptimize
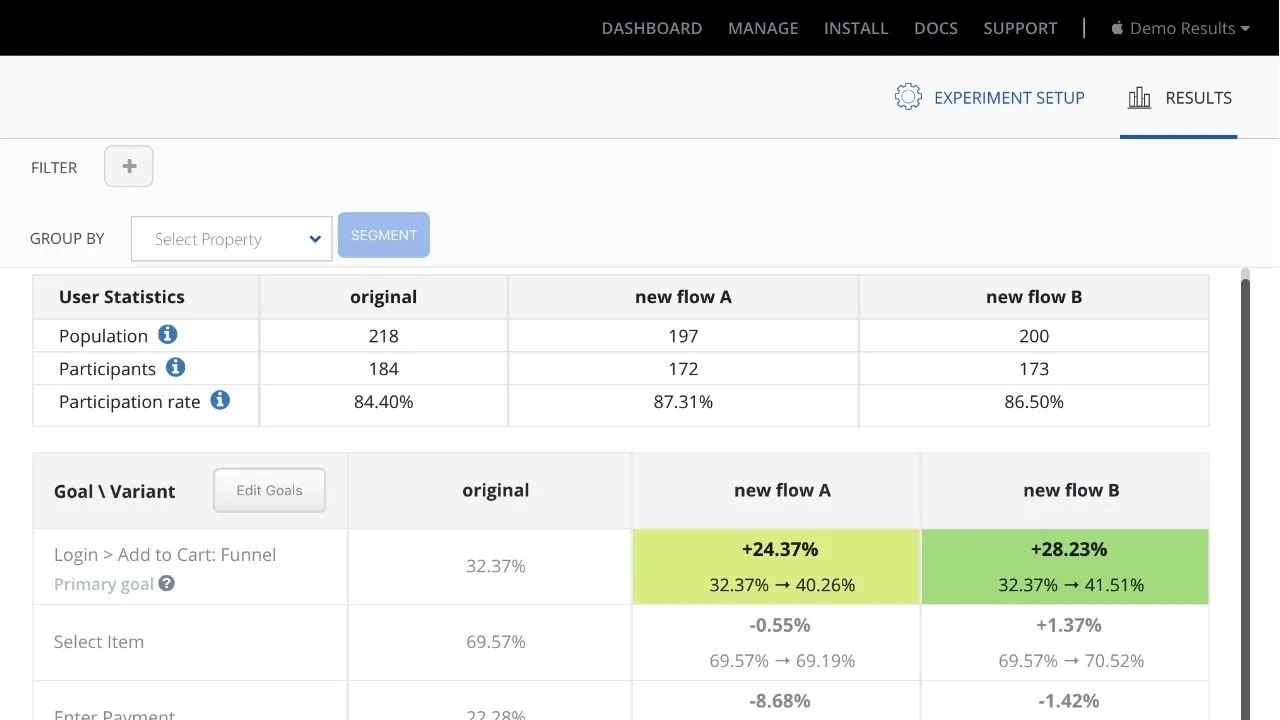
Apptimize is geared towards mobile-based applications. It offers A/B and multivariate testing for mobile and app experiences, real-time analytics and feature flagging.
- Pros: Robust for mobile app testing with segmentation and personalized testing.
- Cons: Less relevant for Webflow-only users; primarily geared toward mobile.
- Pricing: Custom pricing based on needs; contact sales.
- Integration: Not directly designed for Webflow; more suited to mobile-first applications.
- Ideal For: Companies running Webflow sites alongside mobile apps and seeking consistent platform testing.
How to Choose the Right Tool for Your Needs?
Choosing the right A/B testing tool for Webflow depends on your goals, budget, and technical comfort level. Here's how to narrow down the options:
1. Define Your Testing Goals
Clearly outline what you want to achieve with A/B testing. Are you aiming to boost conversions on a specific page, test different CTAs, or improve engagement?
Identifying your goals will help you select a tool with the necessary features to reach them.
2. Consider Your Budget
Tools vary widely in cost, so understanding your budget constraints is key. Free tools offer great entry-level features, while paid options like OptiBase and Optimizely provide advanced capabilities at a higher price.
If you're a beginner, start with a free tool and upgrade as your testing needs and budget expand. However, if you’re an established business, it’s best to start with a premium tool with more analytical capabilities.
3. Evaluate Ease of Use and Support Resources
If you're new to A/B testing, look for tools with a simple interface and support resources like tutorials, forums, and customer support. Some tools even offer onboarding services or live demos to help you get started.
4. Look for Good Reporting Capabilities
Depending on your goals, choose a tool that provides detailed reports on metrics relevant to you. For instance, if you're focused on user behavior, a tool with heatmaps and funnel analysis might be beneficial.
5. Prioritize Tools with Scalability Options
As your business grows, your testing needs may expand. Choose a tool that can grow with you, providing more advanced features or higher traffic limits as your requirements increase.
6. Test the Tool with a Trial or Demo
Before committing to a paid tool, try it out through a free trial or demo. This lets you get a feel for the interface, test its compatibility with Webflow, and explore your desired features.


