A/B testing is a method through which you compare different web page versions to see which performs better based on real user interactions. Whether improving conversion rates or testing new designs, A/B testing provides data-backed insights, taking the guesswork out of decision-making.
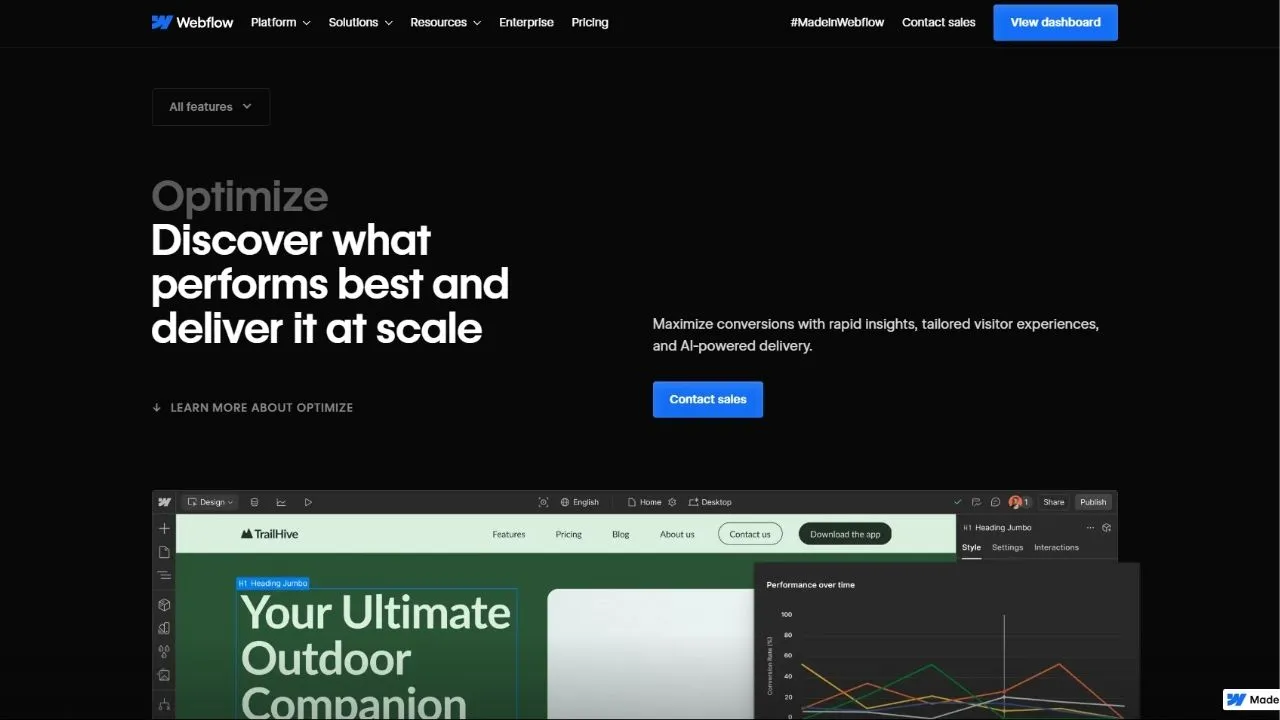
While Webflow has recently introduced Optimize, its own native A/B testing and personalization tool, there are several other methods and tools to run tests in Webflow.
But, I am getting ahead of myself. This guide is about helping you understand this golden-goose marketing strategy and teaching you how to set it up.
If you’re looking for the best A/B testing tool for Webflow, you can check my other article where I compare several of these to give you the best one.
What is A/B Testing in Marketing?
In A/B testing (also known as split testing), we usually compare two or more versions of a webpage or specific element (such as a headline or button).
Splitting your audience between different versions of your page allows you to analyze which variation offers better conversions, engagement, and/or user experience.
In a typical A/B test, users are randomly shown one of two versions of a webpage—Version A (the control) or Version B (the variant). This can apply to entire pages or smaller elements, like changing the color of a CTA button or testing different headlines.
A/B testing is powerful because it provides concrete, data-driven insights. Rather than guessing which design changes will improve performance, you can let the test results show you what works best based on user behavior.
How to Set Up A/B Testing in Webflow?
Below is a step-by-step guide on how to set up A/B testing in Webflow using various approaches.
1. Using Webflow Optimize

With the release of Webflow Optimize, running A/B tests has become much more integrated within the Webflow ecosystem.
Step 1: Enable Optimize in Webflow:
- Navigate to your Webflow dashboard and enable the Optimize feature for the project you want to test.
Step 2: Create A/B Variations:
- In Webflow Designer, create the A and B versions of the element or page you want to test. This could be a different headline, a CTA button, or a full-page layout.
- You can easily switch between versions A and B in Webflow Designer by duplicating the section and applying different styles or content.
Step 3: Set Up Your A/B Test in Optimize:
- Define the metrics you want to track: conversions, click-throughs, or bounce rates. Webflow Optimize provides real-time feedback, allowing you to monitor user behavior as they interact with your variations.
- Optimize uses AI to dynamically adjust which version is shown to users based on performance. This ensures that your site adapts in real-time to display the most effective version for different segments of visitors.
Step 4: Monitor and Analyze Results:
- Use Optimize's built-in analytics to monitor which version of your test performs better based on user behavior.
- Analyze the results and make data-backed decisions about which version to keep live on your website..
2. Using Third-Party Platforms (VWO, Optibase, etc.)
For more advanced A/B testing, platforms like VWO and Optibase provide comprehensive solutions.
Step 1: Sign Up and Create an Account:
Start by creating an account on either VWO or Optibase. These platforms typically offer free trials for smaller projects and paid tiers for more complex or larger-scale testing.
Step 2: Install the Snippet in Webflow:
You'll need to copy and paste the platform's code snippet into Webflow's Custom Code section to enable tracking and variation serving.
Step 3: Create Variations in the Platform:
Use the visual editors in VWO or Optibase to create variations of your webpage within the Webflow designer. This allows for quicker testing without altering your Webflow project files on third-party platforms.
Step 4: Set Testing Parameters and Goals:
Define the parameters for your test, such as the percentage of visitors who will see each variation, and choose the key performance indicators (KPIs) you want to track (conversions, clicks, etc.).
We can test clicks with click events and even programmatic events that are more advanced like a stripe purchase using webhooks
Step 5: Launch the A/B Test and Analyze Results:
Once your test is live, the platform will begin serving the different variations to users and track their interactions.

3. Manual A/B Testing Using Webflow CMS
For smaller-scale tests or specific elements, you can manually create A/B tests directly in Webflow without relying on third-party platforms.
Step 1: Create Two Variations in Webflow:
Create two versions of a section or page within Webflow's CMS. This can be done by duplicating a page or using the CMS to manage content variations.
Step 2: Route Traffic Manually:
You can manually split traffic by using different URLs for each variation or by creating conditional logic to show different versions to different segments of users.
Step 3: Track Performance with Google Analytics:
Use Google Analytics to track each variation's performance by creating goals such as conversions, clicks, or engagement time.
Step 4: Monitor and Choose the Winner:
After running the test for a significant amount of time, analyze which version performs better and set it as the live version on your site.
How to Improve Copy for Split Tests?
I bet you can do a quick re-check of your marketing pages and find at least 5 different sections needing improvement.
Here are a few tips that I have found work best for our clients:
- Keep it simple. Remove all words of ambiguity.
- Keep it clear, the offer should be immediately understood.
- Show transparent pricing, no hidden fees if you have fixed pricing.
- Don’t geek out right off the bat. Start with the benefits to hook the average user before satisfying the enthusiasts with the nitty gritty details.
It is important to understand that messaging and copy have a massive impact on conversions. Don’t complicate it or be “cheeky.” Simpler copy has shown to almost always perform better.
I myself use the Hemingway app to help simplify landing page copy when I run out of ideas. Sometimes, I use ChatGPT and Claude as well to help jumpstart some ideas.
Webflow Optimize vs. Optibase
There are dozens of great split testing tools out there, some developed specifically for Webflow. And I have another guide discussing them.
For this one, I want to discuss the two main ones: Optimize (recently launched by Webflow) and Optibase (what we use here at LoudFace for ourselves and our clients).
1. Webflow Optimize
Webflow Optimize allows you to test variations of webpages, elements, and content, providing actionable insights based on user behavior.
One of its standout features is AI-powered optimization, which dynamically adjusts what content is shown to different users based on their interactions.
It also supports multivariate testing. Users can create A/B and multivariate tests within Webflow to test different page versions or specific elements, such as CTAs, layouts, or product descriptions.
2. Optibase
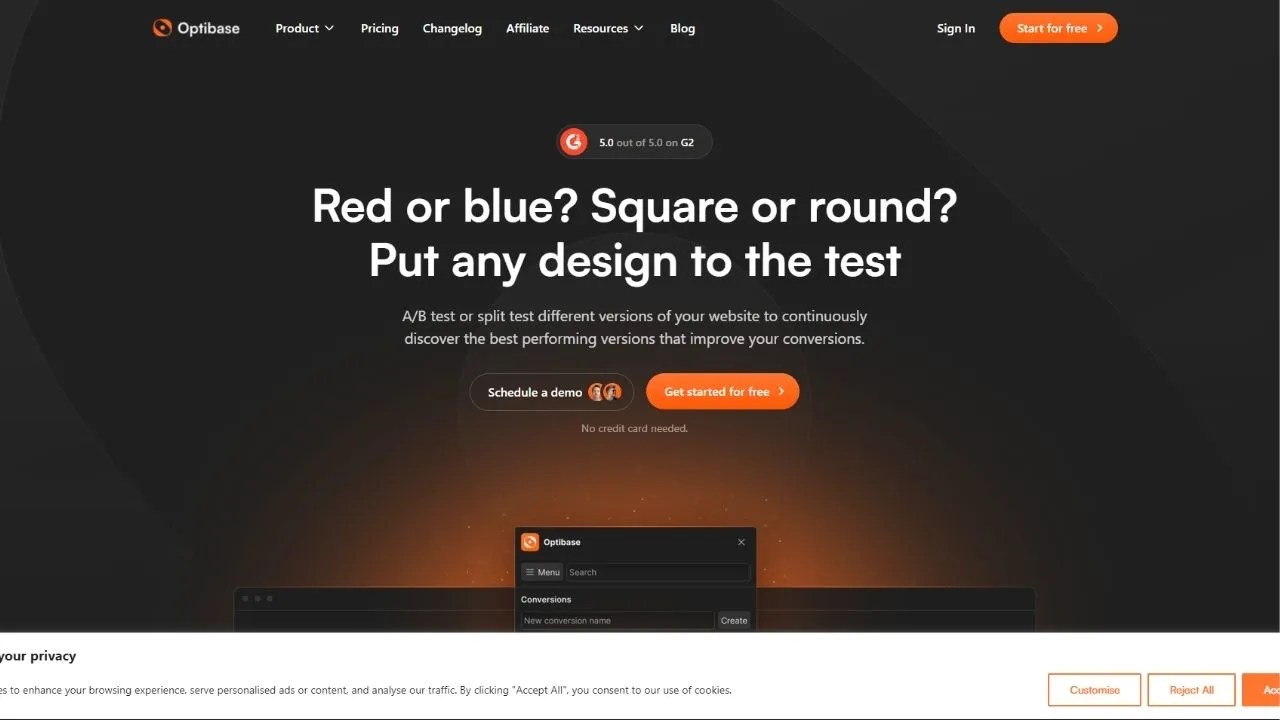
Optibase is a Webflow-native A/B testing and split testing app that allows users to run experiments efficiently without compromising website performance.
It's designed to seamlessly integrate with Webflow, making it accessible for designers and marketers with little technical expertise while providing powerful insights.
Here are some cool features other than the obvious ones (split testing and multivariate testing):
- No Flickering: One of the key advantages of Optibase is its no-flicker testing, ensuring that your visitors experience a smooth and consistent interface without the flickering that can sometimes occur during test transitions.
- Audience Segmentation: Optibase offers precise audience segmentation, enabling you to target specific user groups based on location, screen size, device type, and operating system.
- GDPR Compliance: With a strong focus on data privacy, Optibase ensures that all tests comply with GDPR regulations, giving users confidence that their testing practices are secure and legal.
- No-Code Friendly: One of Optibase's standout features is its no-code approach. Marketers and designers can easily set up tests within minutes without requiring the help of developers.
- Cross-Domain Testing: Optibase supports cross-domain testing, allowing you to follow your audience across multiple domains. This feature is particularly useful for businesses with multiple web properties.
- Comprehensive Metrics: Optibase provides detailed metrics such as the Probability to Be Best (P2BB), which helps identify which variant is more likely to succeed based on statistical data.
3. Are we switching to Optimize?
While Webflow’s new Optimize feature sounds amazing on paper, its results are yet to be seen. Some of the Optibase’s features such as cross-domain testing and comprehensive metrics are non-negotiable to us because we owe it to our clients to maintain the quality and standard we have provided thus far.
Another big reason is the pricing. The pricing for Webflow Optimize is a bit steeper than Optibase. While it may make sense for bigger businesses to pay the premium, small-to-medium sized businesses might not be the best users for Optimize.
Webflow Optimize starts at $299/mo while Optibase.io’s most premium plan is only $80/mo.
For now, LoudFace will be sticking to Optibase for our clients until the new alternative has proven to be a better alternative. However, we will be trying out Optimize every chance we get on our own site (loudface.co). I believe it’ll be a good benchmark to help compare both these tools.
Best Practices for A/B Testing in Webflow
To ensure that your A/B testing efforts lead to meaningful results, make sure to follow all the best practices.
1. Test One Variable at a Time
By testing only one element at a time (e.g., a headline, CTA button, or image), you can identify which change influenced the results. If you change multiple variables at once, it becomes difficult to determine which change had the desired effect.
2. Set Clear Objectives
Every A/B test should be tied to a specific goal, such as improving click-through rates, reducing bounce rates, or increasing conversions. Always define your metrics before running the test.
3. Ensure Adequate Sample Size
For an A/B test to provide statistically significant results, you need a large enough sample size. Running tests with too few users may lead to false results.
It’s generally considered to have at least 2000 visitors and a minimum of 50-100 conversions before even trying to analyze the data. Of course, the numbers vary a lot if you’re selling high-ticket items.
You can also try out a sample size calculator.
4. Run Tests Long Enough for Reliable Data
Ending a test too early can lead to false positives or misleading results. Ensure your tests run for enough time to account for natural variations in traffic and user behavior.
Test durations should account for seasonal traffic changes or user behaviors on weekdays versus weekends.
5. The Exception
There’s a small exception to all the best practices / rules above. Sometimes, you’ll want to make big changes (albeit small in the grand scheme of things) to better understand your audience. One such example would be switching between light and dark mode for a specific landing page without altering the copy.


